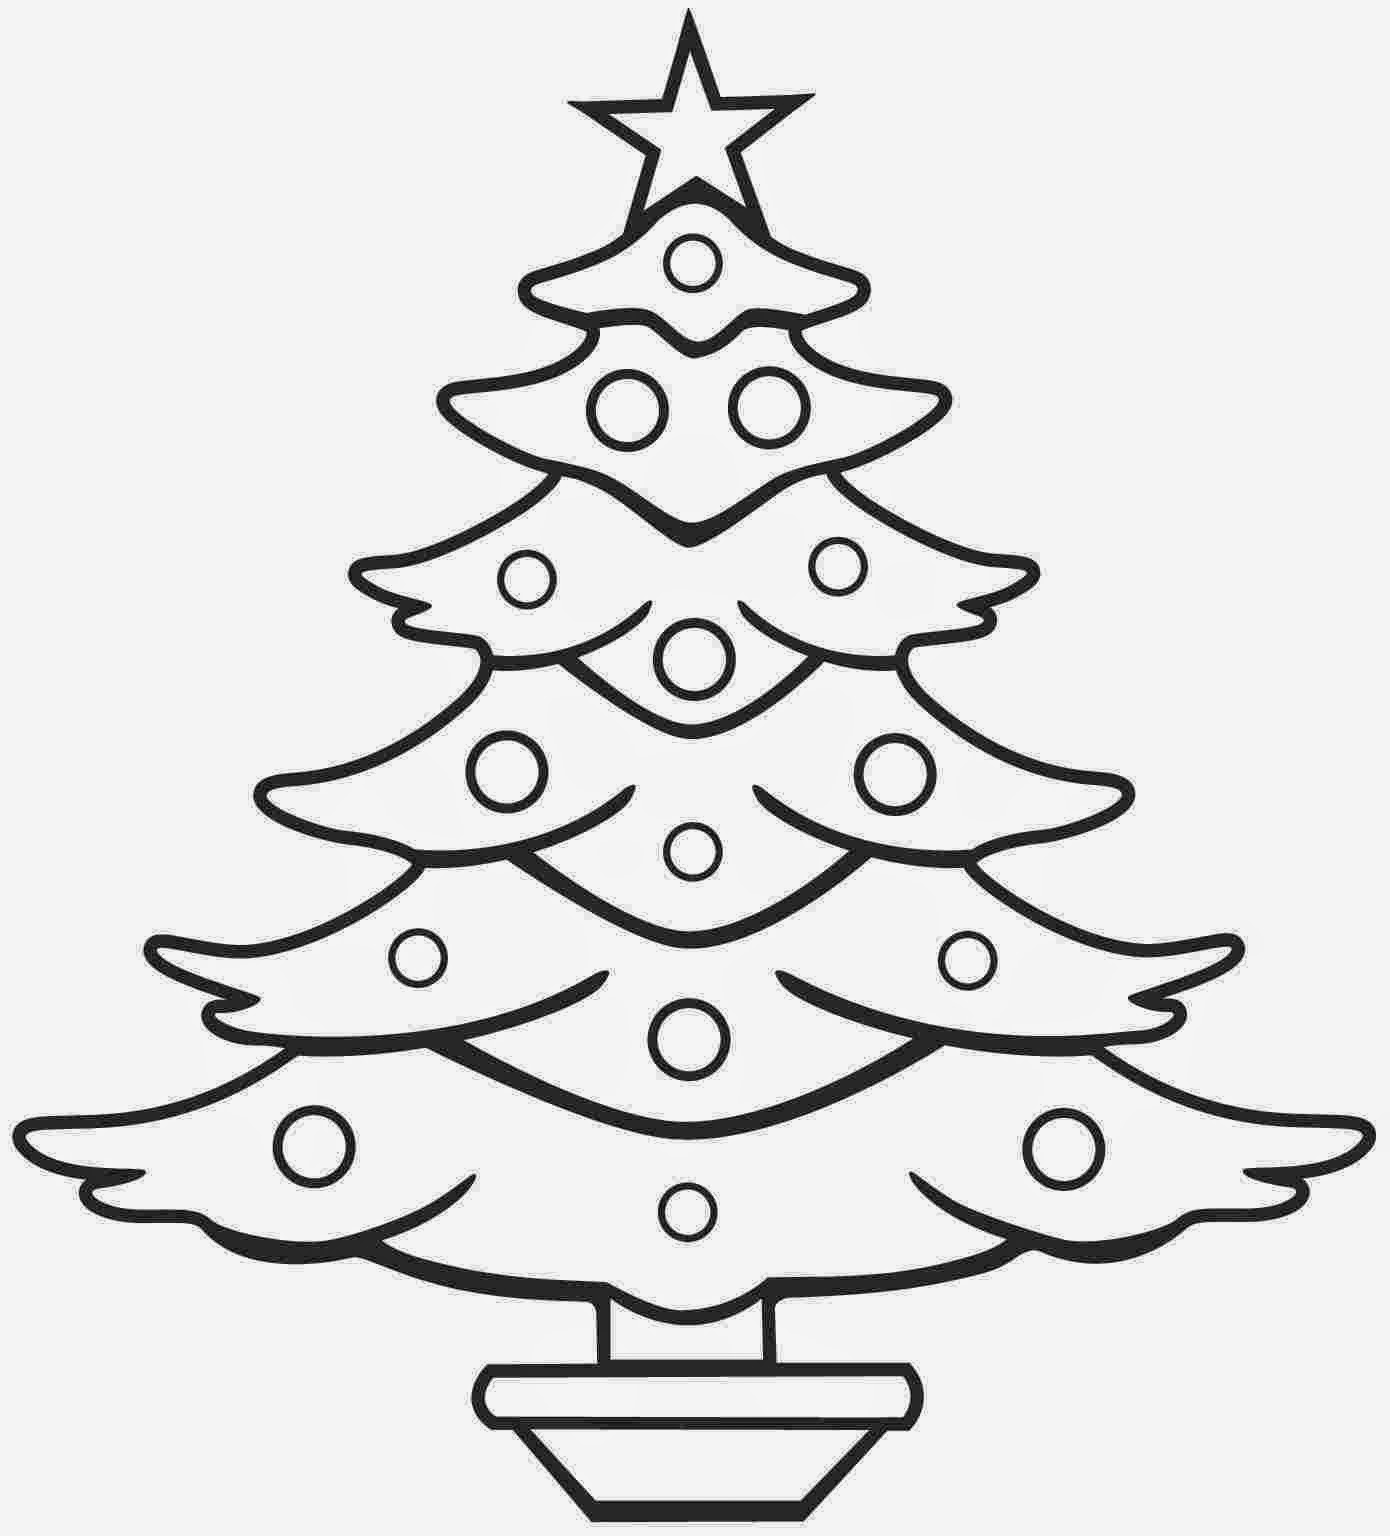

How To Draw A Christmas Tree: A Step-by-Step Guide For All Ages
Are you looking to bring some festive cheer into your home this holiday season? Drawing a Christmas tree is a wonderful way to express your creativity and get into the holiday spirit. In this comprehensive guide, we will provide you with a detailed step-by-step process on how to draw a Christmas tree, along with tips and tricks to make your artwork shine. Whether you are a beginner or an experienced artist, this guide is designed to help you create a beautiful Christmas tree that you can be proud of. So grab your pencils, paper, and let’s get started!
Christmas trees are a symbol of joy and celebration during the holiday season. They are often adorned with ornaments, lights, and a star or angel on top, making them a beloved decoration in many homes around the world. Drawing your own Christmas tree not only allows you to personalize your decorations but also serves as a fun activity to share with family and friends.
In this article, we will explore various techniques and styles to draw a Christmas tree, from simple designs for kids to more intricate illustrations for adults. You will also find helpful tips on coloring and decorating your tree, ensuring that your artwork captures the essence of the festive season.
Table of Contents
- 1. Understanding the Elements of a Christmas Tree
- 2. Gathering Your Drawing Supplies
- 3. Step-by-Step Instructions to Draw a Simple Christmas Tree
- 4. Adding Details and Decorations
- 5. Coloring Your Christmas Tree
- 6. Exploring Different Styles of Christmas Trees
- 7. Tips for Enhancing Your Christmas Tree Drawing
- 8. Sharing Your Artwork
1. Understanding the Elements of a Christmas Tree
Before we dive into the drawing process, it is essential to understand the basic elements that make up a Christmas tree. A traditional Christmas tree typically includes:
- The Tree Shape: The classic triangular shape representing a pine or fir tree.
- Branches: Layered branches that give the tree its fullness.
- Ornaments: Decorative items such as baubles, tinsel, and garlands.
- Tree Topper: A star, angel, or other decorative item placed at the top.
By understanding these elements, you can create a more realistic and festive drawing.
2. Gathering Your Drawing Supplies
To begin your artistic journey, gather the following supplies:
- Pencil and eraser
- Paper (sketch paper or drawing pad)
- Colored pencils, markers, or watercolors
- Ruler (optional, for straight lines)
Having the right tools will make the drawing process smoother and more enjoyable.
3. Step-by-Step Instructions to Draw a Simple Christmas Tree
Now that you have your supplies ready, let’s start drawing a simple Christmas tree:
- Draw the Triangle: Begin by sketching a large triangle to represent the tree's shape. The base should be wider than the top.
- Add Layers: Draw smaller triangles or curved lines inside the larger triangle to create the tree branches.
- Draw the Trunk: Add a rectangle or two vertical lines at the bottom of the triangle for the tree trunk.
- Refine the Shape: Erase any unnecessary lines and smooth out the edges.
4. Adding Details and Decorations
With the basic shape of your Christmas tree in place, it’s time to add some festive details:
- Ornaments: Draw circles, stars, and other shapes on the branches to represent ornaments.
- Garlands: Create wavy lines around the tree for garlands.
- Tree Topper: Sketch a star or angel at the top of the tree.
Feel free to get creative with your decorations!
5. Coloring Your Christmas Tree
Coloring your Christmas tree can bring it to life. Here are some tips:
- Choose a Color Palette: Traditional colors include green for the tree, red and gold for ornaments.
- Add Shadows: Use darker shades to create depth and dimension.
- Highlight Ornaments: Use bright colors and add sparkles to make them stand out.
6. Exploring Different Styles of Christmas Trees
Once you're comfortable with a simple tree, consider trying different styles:
- Cartoon Style: Use exaggerated shapes and vibrant colors for a fun look.
- Realistic Style: Focus on intricate details and shading for a lifelike appearance.
- Abstract Style: Experiment with unique shapes and colors for a modern twist.
7. Tips for Enhancing Your Christmas Tree Drawing
Here are some additional tips to improve your drawing:
- Practice regularly to enhance your skills.
- Look at reference images of Christmas trees for inspiration.
- Experiment with different techniques, such as blending colors or using patterns.
8. Sharing Your Artwork
Once you've completed your Christmas tree drawing, consider sharing it with others:
- Post it on social media platforms and use relevant hashtags.
- Create greeting cards or decorations for your home.
- Encourage friends and family to draw their own trees and have fun together!
Conclusion
Drawing a Christmas tree is a delightful way to celebrate the holiday season and unleash your creativity. By following the steps outlined in this guide, you can create a beautiful tree that captures the spirit of Christmas. Remember to gather your supplies, embrace your artistic style, and most importantly, have fun!
If you enjoyed this guide on how to draw a Christmas tree, please leave a comment below, share it with friends, or explore other articles on our site for more creative ideas!
Penutup
Thank you for taking the time to read our article on how to draw a Christmas tree. We hope you found it helpful and inspiring. Remember, art is all about expression, so don’t hesitate to put your unique twist on your drawings. We look forward to seeing you again soon for more exciting content!
Sauce Worcestershire Pronunciation: A Comprehensive Guide
Brianna Coppage Twitter: The Rise Of A Social Media Influencer
James Allen McCune: A Rising Star In The Entertainment Industry


