
How To Draw A Turtle: A Step-by-Step Guide For Beginners
Drawing a turtle can be a fun and rewarding experience for artists of all skill levels. Whether you are a beginner looking to improve your drawing skills or an experienced artist wanting to explore new subjects, this guide will provide you with all the necessary tips and techniques to create a beautiful turtle drawing. In this article, you will learn how to draw a turtle step by step, along with helpful illustrations and insights into turtle anatomy. By the end of this guide, you will not only know how to draw a turtle but also develop a deeper understanding and appreciation for these amazing creatures.
The turtle is a fascinating animal that symbolizes longevity, wisdom, and endurance across various cultures. This makes it a popular subject for both novice and experienced artists. In this comprehensive guide, we will break down the process of drawing a turtle into manageable steps, ensuring that you can follow along easily. We will also provide tips on shading, coloring, and adding details to make your turtle drawing stand out.
So, grab your drawing supplies, and let’s dive into the wonderful world of turtle drawing!
Table of Contents
- 1. Introduction to Turtle Anatomy
- 2. Materials Needed for Drawing
- 3. Step 1: Sketching the Basic Shape
- 4. Step 2: Adding Details to the Shell
- 5. Step 3: Drawing the Head and Limbs
- 6. Step 4: Finalizing the Drawing
- 7. Coloring Your Turtle Drawing
- 8. Conclusion
1. Introduction to Turtle Anatomy
Understanding the anatomy of a turtle is crucial for creating a realistic drawing. Turtles have a distinct body structure that includes a dome-shaped shell, a long neck, and flipper-like limbs. Here are some key features to keep in mind:
- Shell: The shell is divided into two parts: the carapace (top shell) and the plastron (bottom shell).
- Head: Turtles have a small head with a beak-like mouth and eyes positioned on the sides.
- Limbs: Turtles have four limbs that are designed for swimming or walking, depending on the species.
- Tail: The tail is relatively short compared to the body and is usually not very prominent.
2. Materials Needed for Drawing
Before you start drawing, make sure you have the following materials ready:
- Pencil (preferably a HB pencil for sketching)
- Eraser
- Drawing paper
- Colored pencils or markers (optional for coloring)
- Reference images of turtles (for better accuracy)
3. Step 1: Sketching the Basic Shape
To begin your turtle drawing, start by sketching the basic shapes. Follow these steps:
- Draw an oval shape for the turtle's shell.
- Add a smaller oval for the turtle's head, positioned above the shell.
- Sketch two rectangles for the front limbs and two for the back limbs, attached to the shell.
- Finally, draw a small triangle at the back for the tail.
4. Step 2: Adding Details to the Shell
Once you have the basic shapes in place, it’s time to add details to the shell:
- Outline the carapace by adding a curved line to define its shape.
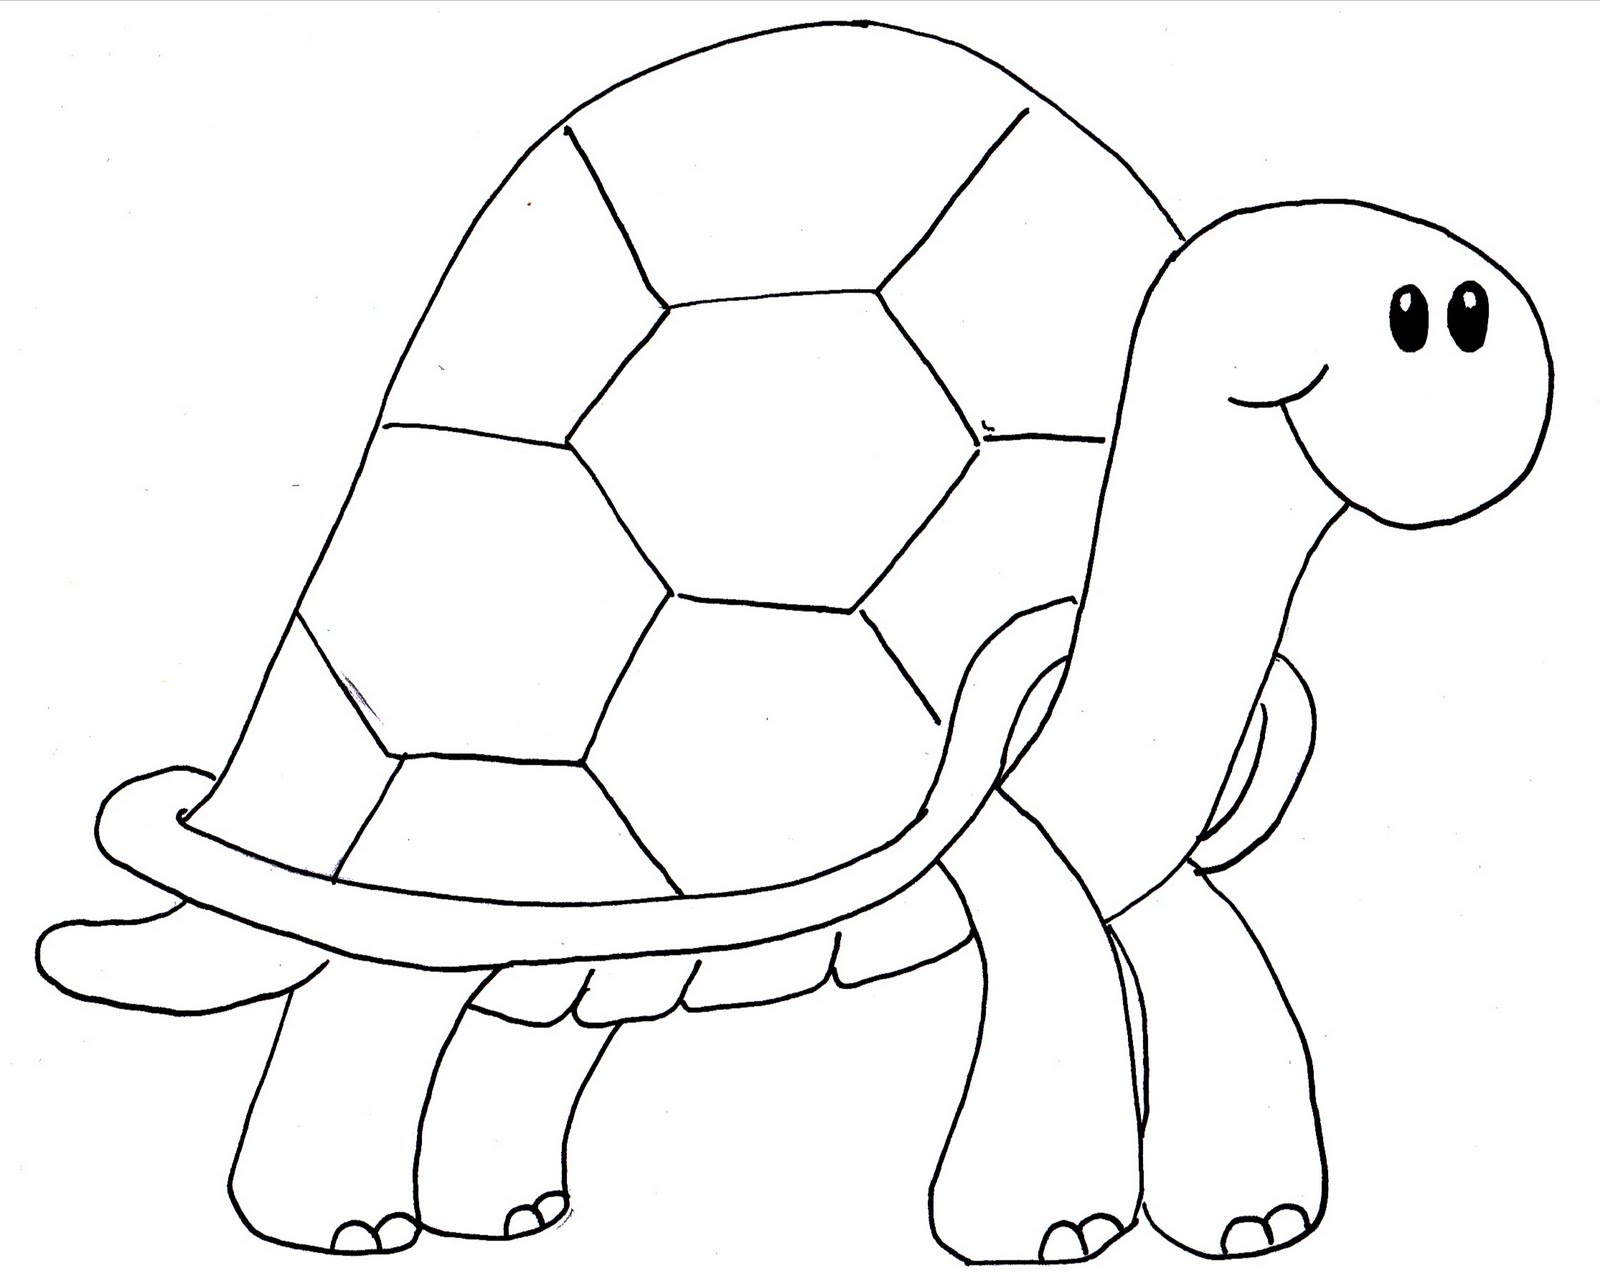
- Draw patterns on the shell, such as hexagons or other geometrical shapes, to represent the scutes (the individual pieces of the shell).
- Make sure to add texture to give the shell a realistic look.
5. Step 3: Drawing the Head and Limbs
Next, focus on refining the turtle’s head and limbs:
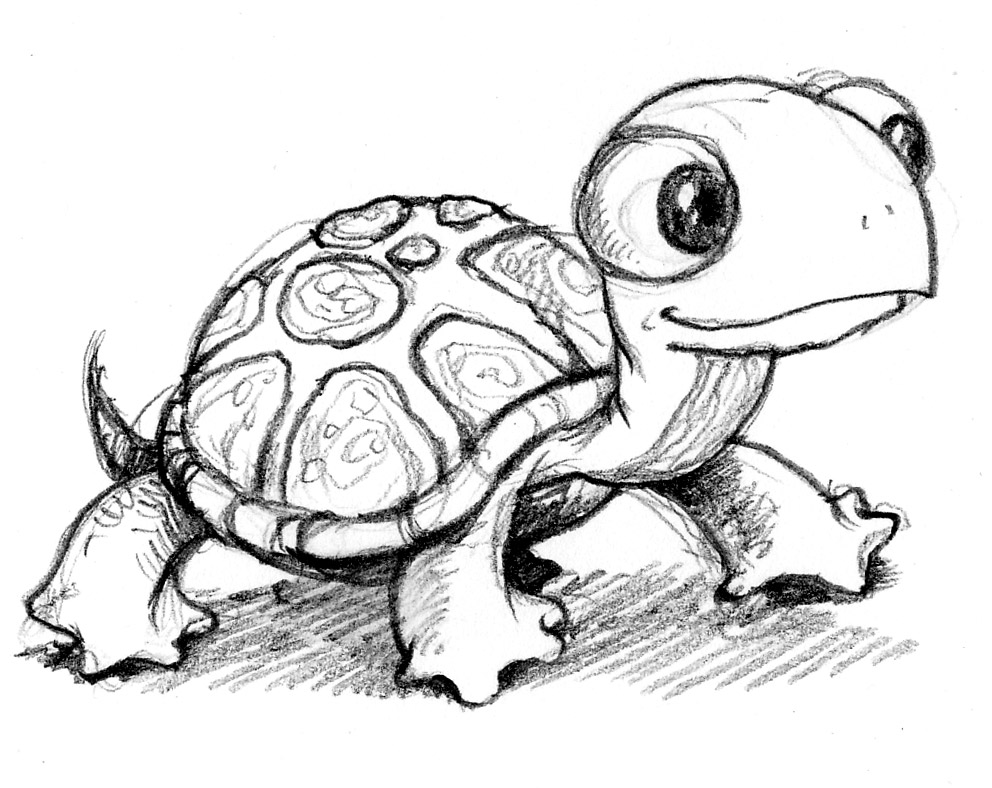
- For the head, add details like the eyes and the beak. Make the eyes round and expressive.
- Define the limbs by adding curves to the rectangles you previously drew, making them look more like flippers or feet.
- Ensure that the positioning of the limbs looks natural, as if the turtle is in a resting position.
6. Step 4: Finalizing the Drawing
At this stage, it’s time to finalize your drawing:
- Go over your pencil lines with a darker pencil or pen to make the outline stand out.
- Erase any unnecessary sketch lines.
- Refine the details, ensuring that the anatomy looks accurate.
7. Coloring Your Turtle Drawing
After finalizing the drawing, you can add color to bring your turtle to life. Here are some tips for coloring:
- Choose colors that represent the species of turtle you are drawing. Common colors include greens, browns, and yellows.
- Use lighter shades for highlights and darker shades for shadows to create depth.
- Consider using colored pencils for a softer look or markers for bolder colors.
8. Conclusion
In conclusion, drawing a turtle can be an enjoyable and fulfilling process. By following the steps outlined in this guide, you can create a beautiful representation of this unique creature. Remember to practice regularly to improve your skills, and don’t hesitate to explore different styles and techniques. We encourage you to share your turtle drawings in the comments below and check out our other art tutorials for more inspiration!
Thank you for reading, and happy drawing!
Exploring Katy Perry's Influence In Woman's World
Time And Hope: A Deep Dive Into The Movie's Themes And Impact
Matt Rife Before: A Deep Dive Into His Journey To Stardom


