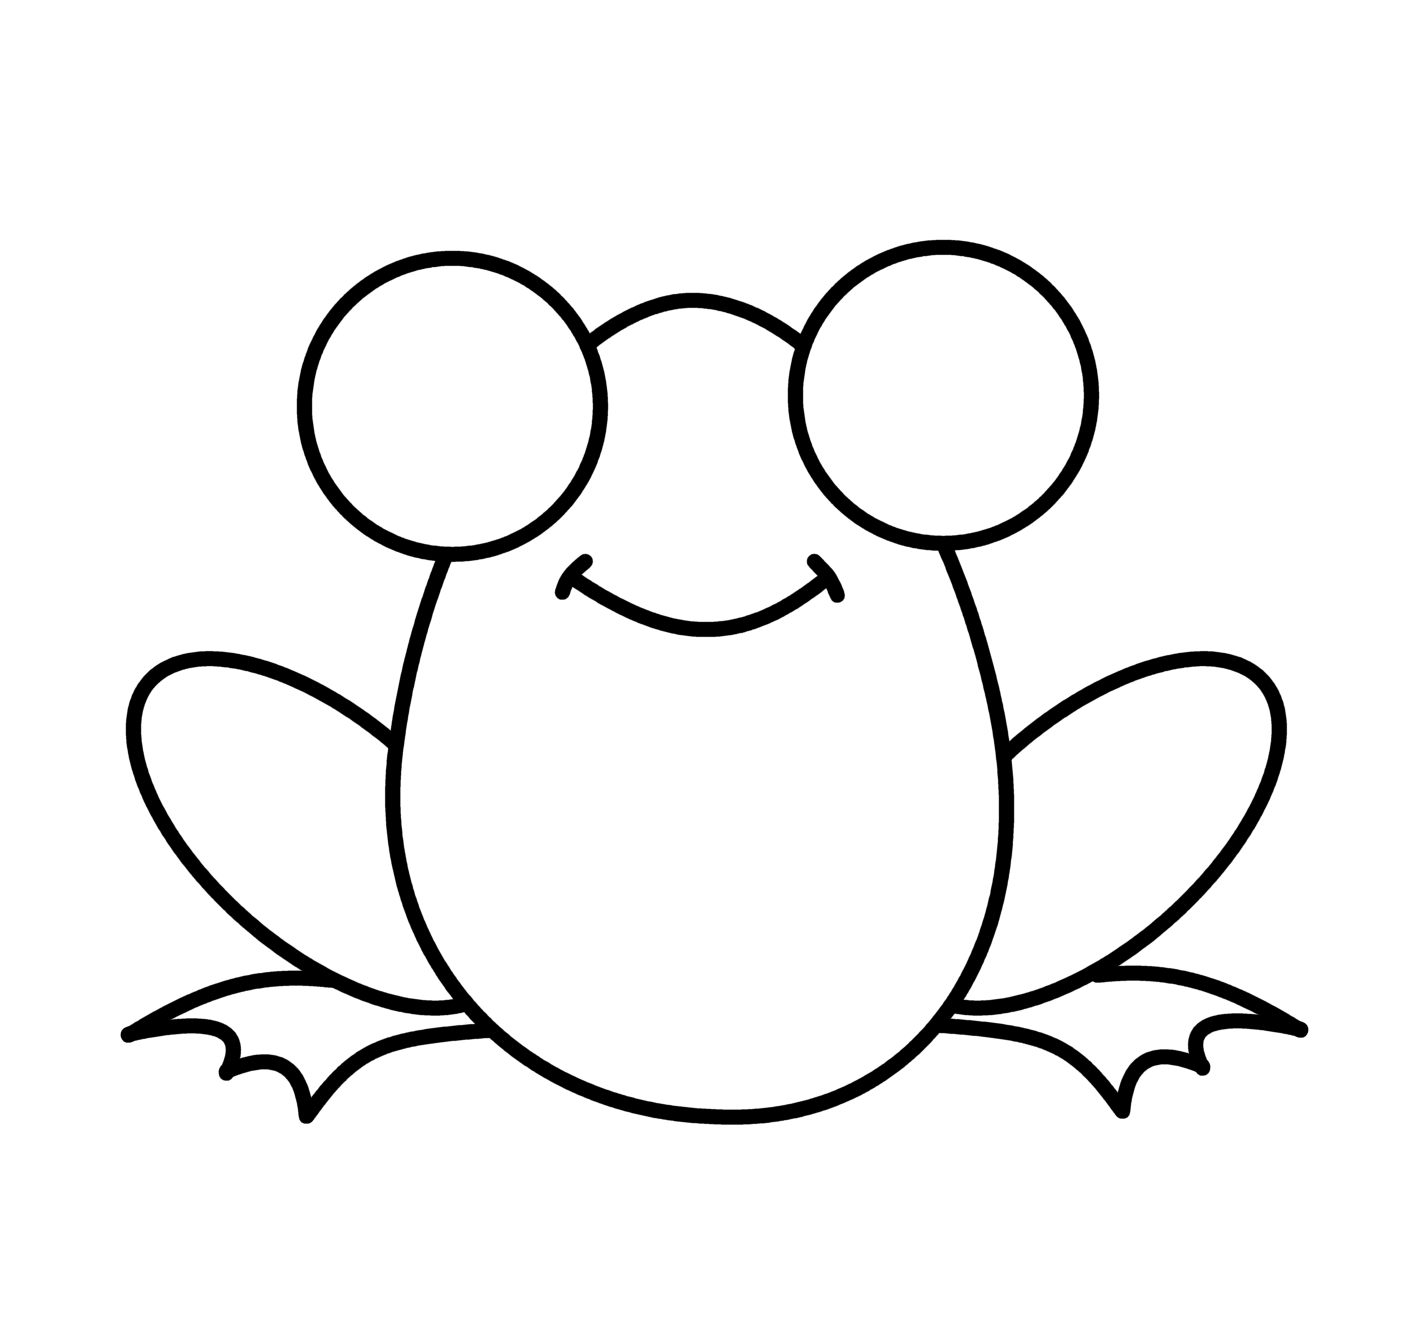

How To Draw An Easy Frog: A Step-by-Step Guide For Beginners
Have you ever wanted to learn how to draw an easy frog? Drawing can be a fun and rewarding experience, especially when it involves cute and fascinating creatures like frogs. In this guide, we will walk you through the process of creating an adorable frog drawing, providing you with simple steps, tips, and techniques that are perfect for beginners. Whether you are a child or an adult, this article will help you unleash your creativity and improve your drawing skills.
Frogs are not only interesting animals but also a popular subject in art. Their unique shapes, colors, and features make them an enjoyable challenge for artists of all ages. In this easy-to-follow tutorial, we will break down the drawing process into manageable steps, ensuring that you can create a frog drawing that you'll be proud of. So, grab your pencils and paper, and let’s get started!
In addition to providing step-by-step instructions, we will also share some tips on how to enhance your frog drawing, including shading techniques and color choices. By the end of this guide, you will have a complete understanding of how to draw a frog, along with the confidence to create your own unique versions. Let’s dive into the world of frog drawing!
Table of Contents
- 1. Materials Needed
- 2. Drawing the Basic Shapes
- 3. Adding Details to Your Frog
- 4. Coloring Your Frog Drawing
- 5. Shading Techniques
- 6. Common Mistakes to Avoid
- 7. Finding Inspiration from Nature
- 8. Conclusion
1. Materials Needed
Before you start drawing, make sure you have the following materials ready:
- Sketching paper
- Pencil (preferably HB or 2B)
- Eraser
- Colored pencils or markers (optional)
- Fine-tip pen for outlining (optional)
2. Drawing the Basic Shapes
The first step in drawing an easy frog is to outline the basic shapes that will form the structure of the frog. Follow these steps:
Step 1: Draw the Body
Start by drawing an oval shape for the body of the frog. This will be the main part of your drawing.
Step 2: Add the Head
Next, draw a smaller circle or oval at the top of the body for the frog's head. Make sure it slightly overlaps with the body.
Step 3: Sketch the Legs
Frogs have long legs, so draw two elongated shapes extending from the bottom of the body for the hind legs. For the front legs, draw two shorter shapes near the head.
3. Adding Details to Your Frog
Now that you have the basic shapes, it's time to add details to bring your frog to life.
Step 1: Draw the Eyes
Add two large, circular shapes at the top of the head for the frog's eyes. Inside each eye, draw a smaller circle for the pupils.
Step 2: Create the Mouth
Draw a simple curved line beneath the eyes to form the frog's smile.
Step 3: Refine the Legs
Go back to the legs and add webbing by drawing small lines between the toes. This will give your frog a more realistic appearance.
4. Coloring Your Frog Drawing
Once you are satisfied with your drawing, it’s time to add color. Frogs come in various colors, but green is the most common. Here are some tips for coloring your frog:
- Use different shades of green to add depth.
- Consider adding spots or patterns on the body.
- Color the eyes yellow or orange for contrast.
5. Shading Techniques
To make your frog drawing look more three-dimensional, consider adding shading. Here’s how to do it:
Step 1: Identify the Light Source
Decide where the light is coming from. This will help you determine where to add shadows.
Step 2: Add Shadows
Using a slightly darker shade of the base color, lightly shade areas that would be in shadow, such as the underside of the limbs and the body.
6. Common Mistakes to Avoid
As you learn how to draw a frog, be aware of some common mistakes:
- Proportions: Ensure the head and body are proportionate.
- Details: Don’t skip adding details like eyes and webbing.
- Overworking: Avoid erasing too much, as it can damage the paper.
7. Finding Inspiration from Nature
To improve your drawing skills, look for inspiration in nature. Observing real frogs can help you understand their anatomy and colors better. Consider visiting a local pond or watching documentaries about amphibians.
8. Conclusion
Now you know how to draw an easy frog! By following the steps outlined in this guide, you can create a charming frog drawing that showcases your artistic abilities. Remember to practice regularly and have fun with your creativity!
We encourage you to share your frog drawings in the comments below and let us know how your experience was. Don’t forget to check out our other drawing tutorials for more fun projects!
Call to Action
Ready to start your next drawing? Grab your materials and begin creating! If you enjoyed this article, please share it with your friends and fellow art enthusiasts.
Exploring Enclave Social Club: A Comprehensive Guide
Office Depot Newspaper Printing: A Comprehensive Guide For Your Printing Needs
Discovering The Best Costco Tupperware Set: A Comprehensive Guide


